دریافت مشخصات سخت افزاری در برنامه نویسی اندروید
سلام دوستان همیشگی در این سری از آموزش برنامه نویسی اندروید به آموزش دریافت مشخصات سخت افزاری در برنامه نویسی اندروید در واقع در این آموزش به راحتی به یکسری از اطلاعات مربوط به گوشی کاربر دسترسی پیدا خواهیم شاید این اطلاعات را بخواهیم سمت سرور ذخیره کنیم و بعدا از آنها استفاده کنیم در ادامه با ما همراه باشید تانحوه دریافت اطلاعات سخت افزاری گوشی موبایل اندرویدی را یاد گیرید.
شاید کلی از اپلیکیشن های Google Play را دیده باشید که اطلاعات سخت افزاری (HardWare) گوشی را درحال نمایش دادن هستند ! در واقع کار خاصی انجام نمیدهند فقط آمده اند این اطلاعات را با استفاده از کلاس های داخلی اندروید به دست آورده اند در ادامه شما نیز می توانید همین کار را انجام دهید.
برخی از اطلاعات سخت افزاری که ما به دست می آوریم عبارت است از :
- serial
- model
- id
- manufacture
- brand
- type
- user
- base
- incremental
- sdk
- board
- host
- fingerprint
- versioncode
ابتدای کار وارد مسیر res ⇒ values ⇒ strings.xml شده و فایل مورد نظر را باز کنید و کدهای زیر را در آن قرار دهید.
1 2 3 4 5 6 7 8 9 10 11 12 13 14 15 16 17 18 19 | <resources> <string name="app_name">System Information</string> <string name="get_information">Get Information</string> <string name="hard_soft_info">Hardware and Software Information</string> <string name="serial">SERIAL: </string> <string name="model">MODEL: </string> <string name="id">ID: </string> <string name="manufacturer">MANUFACTURER: </string> <string name="brand">BRAND: </string> <string name="type">TYPE: </string> <string name="user">USER: </string> <string name="base">BASE: </string> <string name="incremental">INCREMENTAL: </string> <string name="sdk">SDK: </string> <string name="board">BOARD: </string> <string name="host">HOST: </string> <string name="fingerprint">FINGERPRINT: </string> <string name="versioncode">VERSION CODE: </string> </resources> |
کدهای بالا اطلاعاتی است که ما از سخت افزار گوشی به دست خواهیم آورد.
وارد layout خود شوید (در اینجا نام آن برابر با activity_main.xml است) و کدهای زیر را در آن قرار دهید.
1 2 3 4 5 6 7 8 9 10 11 12 13 14 15 16 17 18 19 20 21 22 23 24 25 26 27 28 29 30 31 32 33 34 35 36 37 38 | <?xml version="1.0" encoding="utf-8"?> <LinearLayout xmlns:android="http://schemas.android.com/apk/res/android" xmlns:tools="http://schemas.android.com/tools" android:layout_width="match_parent" android:layout_height="match_parent" android:gravity="center_horizontal" android:orientation="vertical" android:padding="16dp" tools:context="com.androidtutorialshub.systeminformation.MainActivity"> <!-- Heading --> <TextView android:layout_width="wrap_content" android:layout_height="wrap_content" android:text="@string/hard_soft_info" android:textSize="20sp" android:textStyle="bold" /> <!-- Scrollable information text --> <ScrollView android:layout_width="match_parent" android:layout_height="match_parent" android:layout_alignParentTop="true" android:layout_marginBottom="16dp" android:layout_marginTop="16dp" android:layout_weight="1"> <TextView android:id="@+id/textViewSetInformation" android:layout_width="wrap_content" android:layout_height="wrap_content" /> </ScrollView> <!-- To fetch information --> <Button android:id="@+id/buttonGetInformation" android:layout_width="match_parent" android:layout_height="wrap_content" android:background="@color/colorPrimary" android:text="@string/get_information" android:textColor="@android:color/white" /> </LinearLayout> |
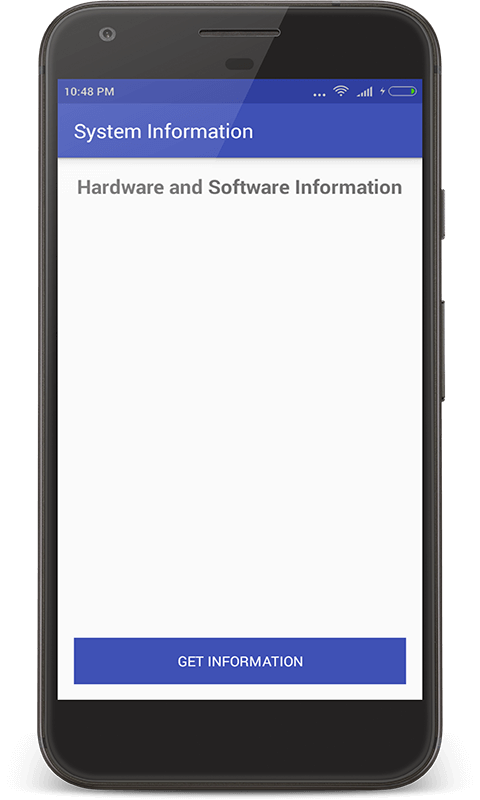
خروجی کد بالا همانند زیر خواهد بود.
بعد از اینکار باید کدهای مربوط به MainActivity را قرار دهید.
1 2 3 4 5 6 7 8 9 10 11 12 13 14 15 16 17 18 19 20 21 22 23 24 25 26 27 28 29 30 31 32 33 34 35 36 37 38 39 40 41 42 43 44 45 46 47 | package ir.programchi.systeminformation; import android.os.Build; import android.os.Bundle; import android.support.v7.app.AppCompatActivity; import android.view.View; import android.widget.Button; import android.widget.TextView; public class MainActivity extends AppCompatActivity { private TextView textViewSetInformation; private Button buttonGetInformation; @Override protected void onCreate(Bundle savedInstanceState) { super.onCreate(savedInstanceState); setContentView(R.layout.activity_main); initViews(); initListeners(); } private void initViews() { textViewSetInformation = (TextView) findViewById(R.id.textViewSetInformation); buttonGetInformation = (Button) findViewById(R.id.buttonGetInformation); } private void initListeners() { buttonGetInformation.setOnClickListener(new View.OnClickListener() { @Override public void onClick(View view) { String information = getHardwareAndSoftwareInfo(); textViewSetInformation.setText(information); } }); } private String getHardwareAndSoftwareInfo() { return getString(R.string.serial) + " " + Build.SERIAL + "\n" + getString(R.string.model) + " " + Build.MODEL + "\n" + getString(R.string.id) + " " + Build.ID + "\n" + getString(R.string.manufacturer) + " " + Build.MANUFACTURER + "\n" + getString(R.string.brand) + " " + Build.BRAND + "\n" + getString(R.string.type) + " " + Build.TYPE + "\n" + getString(R.string.user) + " " + Build.USER + "\n" + getString(R.string.base) + " " + Build.VERSION_CODES.BASE + "\n" + getString(R.string.incremental) + " " + Build.VERSION.INCREMENTAL + "\n" + getString(R.string.sdk) + " " + Build.VERSION.SDK + "\n" + getString(R.string.board) + " " + Build.BOARD + "\n" + getString(R.string.host) + " " + Build.HOST + "\n" + getString(R.string.fingerprint) + " " + Build.FINGERPRINT + "\n" + getString(R.string.versioncode) + " " + Build.VERSION.RELEASE; } } |
در کد بالا ابتدا یک متد برای find کردن شئی ها نوشته شده است بعد از آن یک متد دیگر به منظور تعریف رویداد کلیک ایجاد شده و در نهایت یک متد به نام getHardwareAndSoftwareInfo به منظور دریافت اطلاعات سخت افزاری ایجاد شده است که با استفاده از کلاس Build برخی از اطلاعات مربوط به گوشی را به دست آورده ایم.
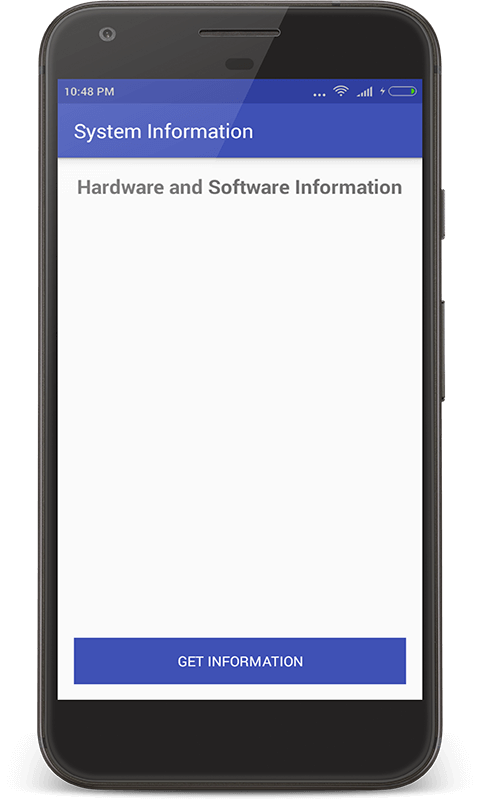
خروجی کد بالا
این آموزش هم به پایان رسید.
موفق و پیروز باشید.
 آموزش برنامه نویسی اندروید |


